Tuesday, August 30, 2011

Preserving tomatoes

We planted a bunch of tomatoes in our pallet cold frames but so far except for one red tomato we only have green tomatoes. Since I use a lot of tomatoes I was hoping to grow a bunch and have some to preserve. I haven't been able to really switch to a mostly local diet this year or have my own yard for expanding the gardening. I was hoping to switch a few things that I use a lot this year. Luckily I heard that Bell's nursery sells the tomatoes that they can't sell at the grocery store for cosmetic reasons at 5 pounds for $5 at their store. I have now brought two 50 pound batches from Bell's nursery that I made into spaghetti sauce, salsa and diced tomatoes.

For the first batch I made an oven roasted tomato sauce and a tomato sauce with tomatoes that were just peeled. I used the rest of the tomatoes that were left for diced tomatoes. I peeled the tomatoes that were not roasted by boiling briefly until the skins crack and dipping in cold water for peeling. The oven roasted ones crack for easy peeling. For my second batch I made another roasted tomato sauce and a roasted salsa and diced the rest. Both sauces were tasty but the roasted sauce was more flavorful and less watery so I decided to roast the tomatoes from now on for sauces. I also used a local onion and some basil and parsley from the farmer;s market in the spaghetti sauce. The salsa had cilantro from the farmer's market. It was a lot of work but it gets me excited for when I hopefully have my own  mini homestead in my backyard where I hopefully will have lots of veggies to can and process.

50 pounds of tomatoes

Sliced in half sprinkled with olive oil and ready for the oven

The helpers peeling the oven roasted tomatoes


Boiled until the skins crack for easy peeling

A local farmer's market onion for the spaghetti sauce

I started  the sauce with the onion and garlic

I pulsed the tomatoes in the blender 3-4 times and added fresh herbs

Both sauces cooking from the first batch
The roasted sauce is on the top
Diced tomatoes peeled and seeded 

I canned everything using a pressure canner for 20 minutes. You don't have to use a pressure canner for tomatoes but it fits more cans and takes less time and has a better chance of preserving than the hot water bath so I used the pressure canner.

We got a tomato corer for the second batch and it saved lots of time

A really big tomato

Salsa in the blender with fresh local cilantro
I pulse 3-4 times

The baby wanted a tomato

The second batch ready for pressure canning
 Spaghetti sauce on the left front, diced tomatoes in the back and salsa to the right

Keeping the baby happy during the processing with wild berry smoothie

Entertaining themselves in a box

In a box with a cracker

It was a lot of work and very messy between the tomatoes and the children but it will be nice in the winter when we have yummy local goodness. 


Tuesday, August 23, 2011

Baby carrier reviews

The outdoor meetup group I am a member of wants reviews of baby carriers. Since I have tried several carriers through the years with my kids and have sewed my own I thought I would do reviews. I don't have the best pictures of the carriers since I am usually behind the camera. Doing these reviews makes me realize I should of taken better pictures of them. I usually like to stick to one of something and not buy more then I need. I am not a big shopper and try to buy used whenever possible. I barely ever buy things for myself. I embarrassingly have tried many carriers in my almost 5 years of parenting for someone who thinks through purchases and always thinks about the impact and if I can find it used or go without. Most of these carriers were actually used carriers. I have been through a lot but they all been put to good use or have gone on to new homes. I had to go through several carrier to finally determine that I liked the mei tais I made the best. I also use different carriers for different purposes and different ages.

Ergo


The ergo is a soft structured carrier. A soft structured carrier is an asian style carrier that has buckles for the waste and shoulders and has a structure. The ergo can be used as a front carrier, a back carrier or a hip carrier. The ergo is made of heavy duty canvas and is heavily padded through the shoulders and the hips. It has a chest clip and a hood for sleeping babies. It has a darted seat that helps position the baby and helps with weight distribution. The good things about the ergo are that it is made of really good materials and has adequate padding for weight distribution. The padding in the shoulders is a little stiff compared to other brands. It is good to have padding but I feel there are other options for that area that can hold the weight without the stiffness. The ergo makes a really good back carrier but I don't particularly care for it as a front carrier since the shoulders don't cross for a front carry. It also can be used as a hip carrier but it does a poor job as a hip carrier. You can buy infant padding for tiny babies that don't fit in the leg holes but I think there are much more comfortable carrier options out there for newborns. I think the ergo is a great workhorse carrier made of good materials that will work for many people but it did not work for me. Even with the chest clip I felt as if the carrier would slip of my narrow shoulders and I did not like the fit on me.

Ten Toes Click


Pouch for newborns


The ten toes click is a buckle tie. A buckle tie is a mei tai that has buckles instead of ties. It is like a soft structured carrier but doesn't have the structure. This carrier is made of twill and does not have padding. I got the ten toes click since I heard it was a good carrier for petite women. I did really like the fit of this carrier for a variety of shapes and sizes. I also liked it for a front carrier since you can unsnap the shoulder clips and criss cross them for the front. It is the only soft structured carrier I like for newborns since it has a sewn in pouch that you can put a newborn in before you put the carrier on. The pouch only works for small babies that wouldn't otherwise fit without special padding to make it work.  I liked all the options for strap colors and design and how the carrier looks. I really like this carrier for smaller babies that don't weigh a lot but since it is made of twill and lacks adequate padding I don't think it makes a good carrier for bigger babies and toddlers for weight distribution. I really feel it when I am carrying a bigger baby in this carrier after not much time. It does not come with a sleeping hood.

Nana's Jet Pack

Jetpack on the back 1 day post postpartum

I got the Jetpack because I heard it fit petite women good in the shoulder area and I found a good deal on a used one. I wanted a soft structured carrier I could use for my toddler once my second child was born. Nana's Jet Pack is a soft structured carrier made of twill that is lightly padded. I did really love how this carrier fit me and loved the shape and fit of it. I thought the carrier was a perfect size for my toddler. What I didn't like about the carrier was the light padding and twill fell short for weight distribution for toddlers. I would love a carrier like this made with more padding and made of heavy canvas. This also did not come with a sleeping hood.

Moby


The moby wrap is a stretchy wrap made of cotton jersey. Stretchy wraps are a great way to learn how to use wraps and are they are very comfy and soft for small babies. The moby is my favorite carrier for a newborn. They say that the moby is good for up to 30 pounds and it shows a back carry in the booklet. I don't think the  moby is good for much past 12-15 pounds or that they are good for back carries because of the stretchiness of the fabric.

The moby has a bit of a learning curve for tying it. It really intimidated me with my first so that I didn't use it much with her and by the time I did learn it it had outlived its usefulness. I recommend watching youtube videos on how to tie it. You can also ask a friend to help you or look up if your area has a baby wearing group if you are having trouble with it. I am glad I kept the moby because it became my favorite carrier when my second and third were newborns. Once you learn how to tie it becomes second nature. You can pre tie the moby if you are going in the car so you don't have to tie it outside if the weather is bad. A lot of people do not tie the moby tight enough. You have to tie it tighter than you think and really get the shoulder sections really tight. I love the closeness and comfiness of a wrap and I like the softness of a stretchy wrap for a newborn. I found that once my babies got somewhere between 12-15 pounds that it became a little too stretchy and it would sag a little even when I made sure to tie it nice and tight.

Scootababy


The scootababy is a structured hip carrier. The scootababy is a carrier I have been borrowing from a friend. The scootababy is made of heavy duty canvas, has a gathered fleece shoulder and a padded buckle for the hip. It has seat darts to help with weight distribution and for positioning the baby. I have tried other hip or side carriers but I always feel it on the shoulder that is holding the weight after not much time. I can wear the scootababy for a long time without feeling the weight.

 I first tried the scootababy because when my son was a baby he only liked back carries when I was moving which was good for hikes and walks but not for errands where I wasn't moving as much. He liked to be held and was pretty fussy at times so the scootababy was great for certain occasions. I really found this to be the perfect hip carrier for me. I found it very comfortable and well made with good materials. My babies like it because they are up front by me and can see really well out of a hip carrier. A hip carry puts them in a better position than a front carry facing out but it keeps a baby happy if they want to see better. I also used this for my youngest who had torticollis a neck condition where her muscles were stronger on one side and it kept her head pulled to the right and she favored looking left. Her head preference was so strong that in other carriers her head would always end up towards her favored side even if I tried to position her otherwise. The scootababy helped keep her head facing the other direction while her torticollis was at its worse.

Tettitet


The tettitet is a mei tai an asian style carrier that you tie around the waist and shoulders. Tying it allows you to get a custom fit but takes a little practice to learn for back carries. It allows you to tie it a few different ways and can cross to make front carries more comfortable. I mostly use mei tais now so I find them easy to use now. There was a time where I wasn't comfortable tying back carries by myself. I recommend watching youtube videos and looking online if you are having trouble figuring out a back carry with a mei tai. The tettitet is a scandanavian mei tai. I heard they got really good reviews so I decided to try one. I was very impressed with it. It is made of heavy canvas and is lightly padded. This is the only carrier that is lightly padded and doesn't have padding in the waist that I actually like for weight distribution. It is sewn very good and is made with good materials that work for transferring the weight. This carrier inspired me to try making my own with a friend who was crazy enough to try it for our first sewing project. I thought about selling it since I now have mei tais that I made that I love but I still have this carrier and do like using it. It is my husband's favorite carrier right now since his custom Ramones soft sturctured carriere I made him is in need of repair.

Baby Hawk


The baby hawk is a mei tai made of twill with light padding. This was the first baby carrier I owned and I liked it at the time. I had a hard time doing back carries and switched to a soft structured carrier when I wanted a back carrier for hikes. I now have no problem using mei tais for back carries but I sold the baby hawk a while ago. It was a decent carrier and has lots of colors and designs to choose from but I found the light padding and twill was better for smaller babies. I felt the weight when carrying bigger babies. 

I don't own one but my favorite soft structure carrier is a kinderpack. I have tried on a friend's and it is really well made with good materials and great sewing. The waist is well made and the hood can button into the carrier. There are a lot of brands out there and some good carriers and some not so good ones. I think it is important if you are getting a mei tai or a soft structured carrier to get a brand that has a good reputation and good reviews but also to pay attention to materials. Get a carrier with adequate padding that is made of heavy canvas rather than twill. 

Another type of carrier I like are woven wraps but I never really learned how to tie a back carry right. I also like mei tais and soft structured carriers. I use mei tais since I know they will fit me. I use them for  both long and short hikes and for errands. I like them better then frame packs and find them more comfortable for me and more practical for around the house. 


Wednesday, August 3, 2011

Dipnetting on the Kenai

I need to get started on posting again since it has been a while. My nephews who are 11 and 15 visited for two weeks and we had lots of fun with them here. It was nice having them around and the kids really enjoyed their cousins. We got to explore and do the touristy things that are very fun after spending a lot of our summer fixing our condo in the hopes that it will help it sell. That isn't going well unfortunately but I am trying not to lose hope.

We went to see Denali National Park and did a shuttle bus tour. We went hiking at the Byron Glacier and the Powerline Pass. Mike took his nephew hiking at Eklutna lake so they could go on one hike that wasn't kid paced and I could can the salmon. Mike took his nephews fishing out of Whittier with a friend of his. We went to the Kenai River for our annual dipnetting adventure and camped on the beach for 3 days. I took a little side trip with my younger nephew and the kids to Homer which is one of my favorite places in Alaska during dipnetting. We hit the pool at Nikiski before leaving Kenai to head back to Anchorage. His nephews  had a good trip. I spent this weekend at my friend's cabin in Trapper Creek and we attended a festival on Saturday totally unaware of a plane crash in the area until we got back.

The girls in Homer
In Alaska the Kenai and Kasilof  River is open for dipnetting red salmon for Alaska residents. Dipnetting is standing where the ocean meets the river with a net of either 4 or 5 feet and you wait for a fish to hit your net. You wear hip waders and rain gear and brave cold water and some waves at times. There are two sides at the mouth of the river the main dipnetting area on the Kenai. One on the main drag in Kenai where you drop off your gear and then park your car and another side where you can go onto the beach with your vehicle if you have a 4 wheel drive vehicle. We do the drop off side.You can get 25 fish for the head of household and 10 for each additional member so we can get up to 65 salmon for our family of 5. We never gotten close to limiting out in the past and this was our 5th year going but every year we do get lots of fish. Last year we got over 30 and canned lots of salmon.

Since our nephews were visiting and Mike had time off we went on Sunday and got there in the evening and stayed through Wednesday instead of incorporating a weekend into our trip like we usually do. There is usually a church group that offers free drinks, hot chocolate, a bounce house, face painting and other  activities for kids and offers to watch your kids during one of the tides on the weekends. It is super crowded on the weekend and takes a while to drop your gear off. During the week the crowd is smaller so it wasn't too bad while we were there. This year was our first year camping on the beach and it went well. I was worried about the kids and sand and not being able to wash it off or escape but it actually went really well. It was less costly then the RV park we tent camped on up the hill in previous years and way more convenient then the campground farther into town we camped at one year.


This year ended up being our most successful year dipnetting. We stopped at 50 fish which was all we had cooler space for and enough to last us the year through freezing, canning and smoking. We picked the perfect time to go this year. The fish were smoking while we were there and the numbers were a lot higher than historical averages. When the fish were on people were pulling out fish after fish. Mike had to leave to go to work on Tuesday morning in the middle of decent fishing and it was really windy and cold on Monday so he couldn't spend the day fishing. We stopped fishing early on Wednesday. Even with all that we got all the fish we needed.

The fishing is one thing I love about living here that is so unique and will be missed if we ever leave. The salmon fishery is sustainable, well run and the fish are safe to eat. We wouldn't be fishing otherwise because sustainability is very important to me. You can't beat living in Alaska for having an abundant local fish source that is actually totally sustainable and makes the green list for seafood that can feed your family a healthy source of protein for a year.

Jersey Subs on a windy day


Friday, June 24, 2011

Summer solstice

When we first moved to Alaska it seemed really strange to basically never see darkness at this time of year. It would be really late and we realize we need to make dinner. The first summer with Delia as a baby was an adjustment too. My baby who had a good routine all of a sudden was hard to get to sleep at night. We went through many summers of interrupted night time routines before it didn't seem like a big deal anymore. The kids have a later summer routine and we have days where we stay out late but we still follow a routine and stick to it and they are usually good about bedtime. Now it would probably seem strange to live where it gets dark in the summer and the midnight sun is just a part of life in Alaska. The solstice was on Tuesday and now we are moving towards shorter days again.

We have been trying to get outside a lot in the summer. I usually try to do a hike and an outdoor playgroup once a week. I have been hiking with the kids since Delia was a baby in my belly. Some hikes were with just me and Mike or family that visits and sometimes with different parents groups. Last summer I did the parent and me hikes through the municipality and hikes with a church group of moms I met at the park that were really nice. The summer before it was a different hiking group.This summer I am going with a outdoor meet up group or with the kids by myself. It has progressed through the years from carrying Delia on my back to pushing her in a stroller or wearing her on my back while pregnant. Then it was adjusting to hiking with two carrying Teddy on my back while Delia was in a stroller. Last summer Delia started hiking and did really well. I was pregnant so I was perfectly fine going at a kids pace. She could hike 3-4 miles. This summer Teddy either rides in the stroller or walks and Delia hikes and Cora is on my back. I hiked with a toddler on the back and a babe in the front at time or a toddler on my back with a babe in my belly. Sometimes it doesn't go well  especially now with three kids who can protest but we all mostly enjoy it and I hope it instills a love of the outdoors and nature in them.


We also spend time in the garden at my friend Sarah's house. The kids enjoy riding their bikes. Teddy has gotten really good at his balance bike in a short time and can run and glide. Today he went up and down a ramp and down a big hill and glided down. Delia loves riding her two wheeler and spends a lot of time riding her bike. On sunny days we like to go to the lake and the kids play in the sand and the water. We had a nice warm and sunny May but June has been cooler and cloudier but we still try to get out. Mike usually plays outside with them after dinner while I clean up and we found some new neighbors with kids for them to play with.


The solstice also marks the day the Alaska food challenge begins. I did not get to make it to the kick off party. I was hoping to be eating mostly Alaskan this summer once the produce starts really coming in aside from spices and oils that are hard to get. I am falling very far off that goal with the condo being on the market. We have been doing improvements on the condo to hopefully help it sell and I have been trying to keep it neat and clean all the time. The kitchen is really small and we have been doing  improvements in there. I don't want to fill our tiny kitchen while we are trying to sell our place so my plans for making cheese and yogurt from local milk has been put aside as well as the plans to make breads, pizza crusts, tortillas, pastas etc from the grain. I don't think our tomato crop is going to do as well as hoped this year since we lost some and the rest are small. We don't have the chicken coop. I don't have my own yard to plan for next year. I will try to do what I can. We expanded the garden this year with the pallet cold frames. I will buy more local produce once it is in and freeze some of it for the winter We hopefully will be able to catch a lot of salmon dip netting. This year I will do better with foraging for berries and then freeze some and make jelly out of the rest. The  food challenge group did make the news at the kick off party and people gave pledges both big and small to eat  more of there foods that are Alaskan for a whole year. 

Monday, May 30, 2011

Garden progress 2011


Garden progress 2011

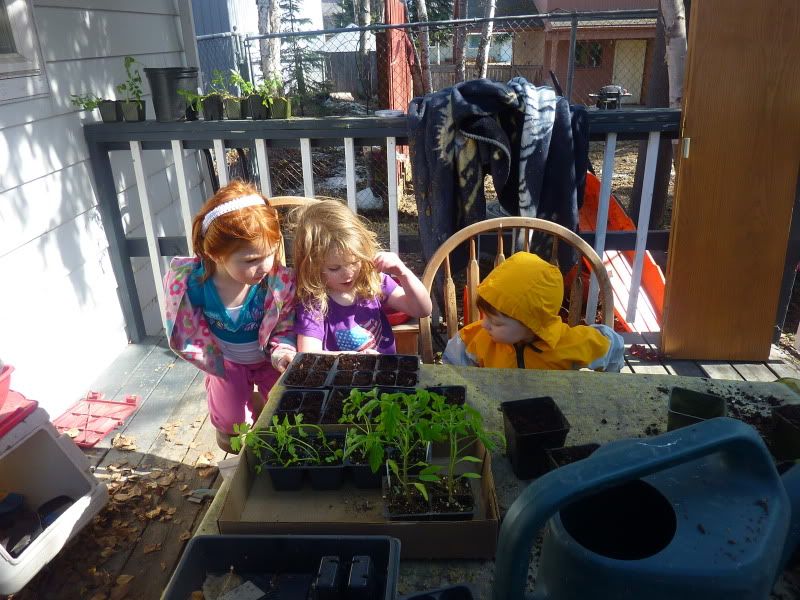
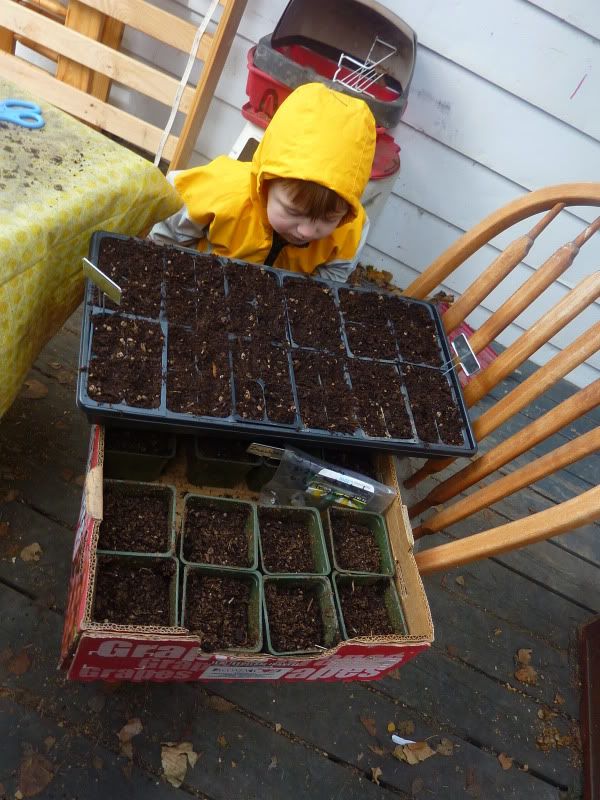
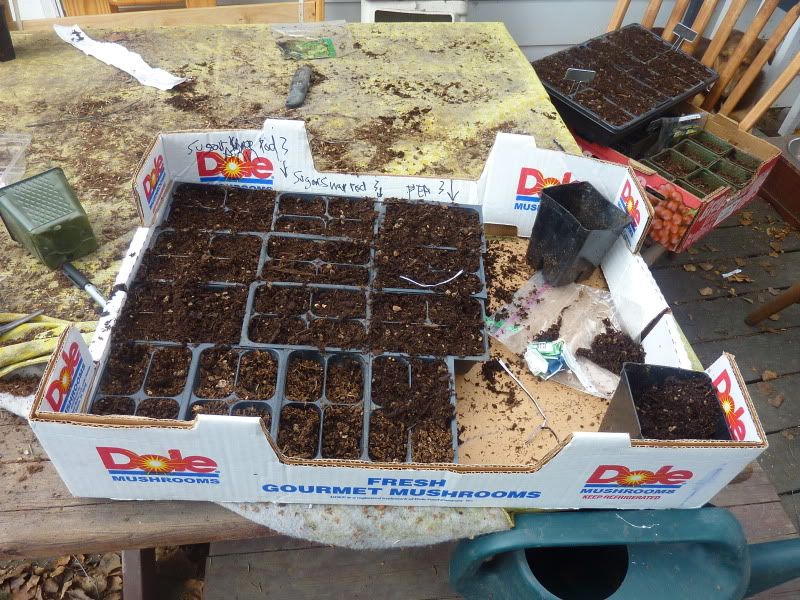
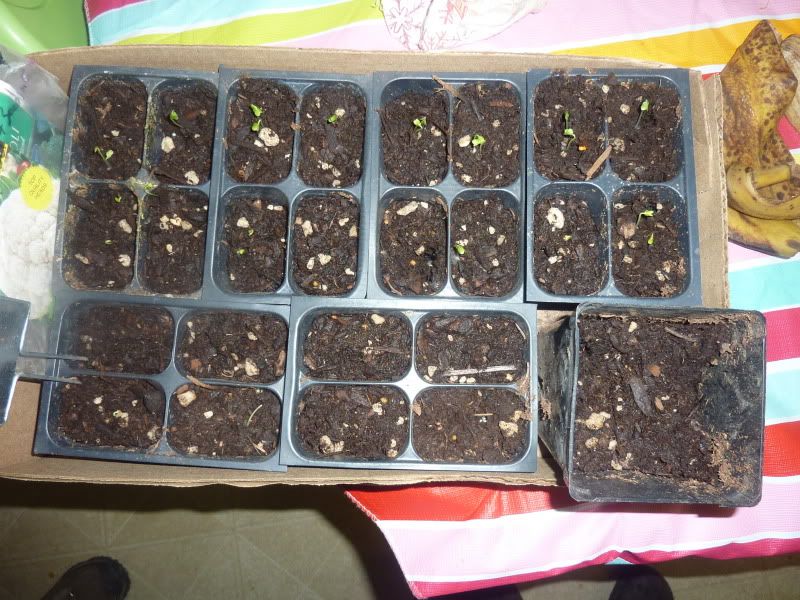
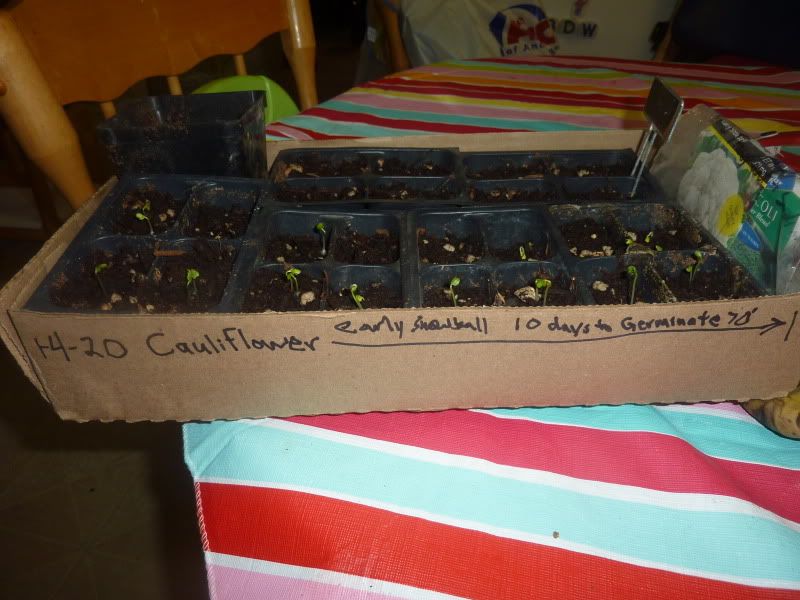
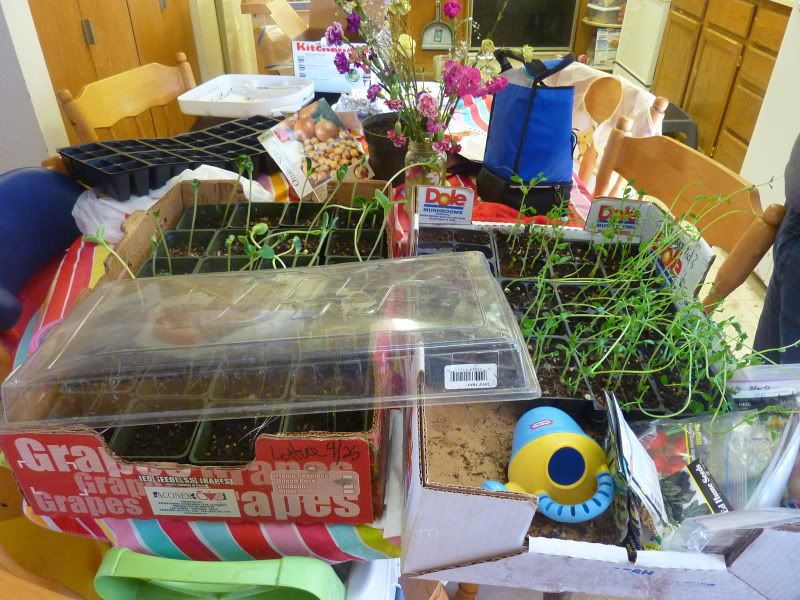
Anchorage is in zone 2 and has a very short but productive growing season.  We start planting the garden every year on Memorial Day. Even though our season is short with the long days and the midnight sun things grow fast. Since there are so many zones in Anchorage you can usually tell it is time to plant when the leaves are in full bloom. We usually start the seeds that need to be started and transplanted in mid-April around 4/20. If you want to plant greenhouse or warmer crops you need to start earlier. We did not plant tomatoes in time so we picked some tomato four packs up at a greenhouse class and transplanted them on planting day.  We started zucchini, squash, beans, sweat peas, broccoli and cauliflower beforehand. We started fava beans later.

4/20 Starting seeds
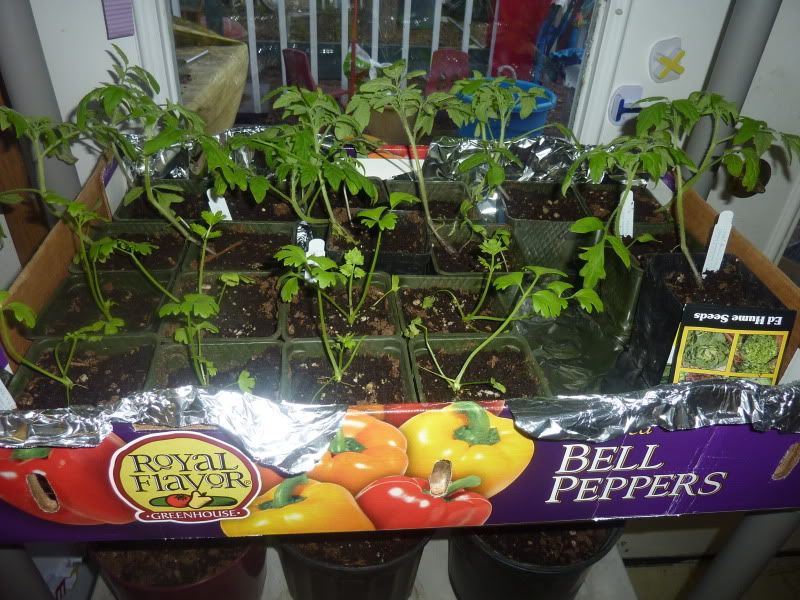
Tomato plants ready for transplanting
Teddy looking over the brocoli, cauliflower, and zuchini
Sugar snap peas
Transplanted tomatoes. They are not falling over they grow better  towards the end and on their side
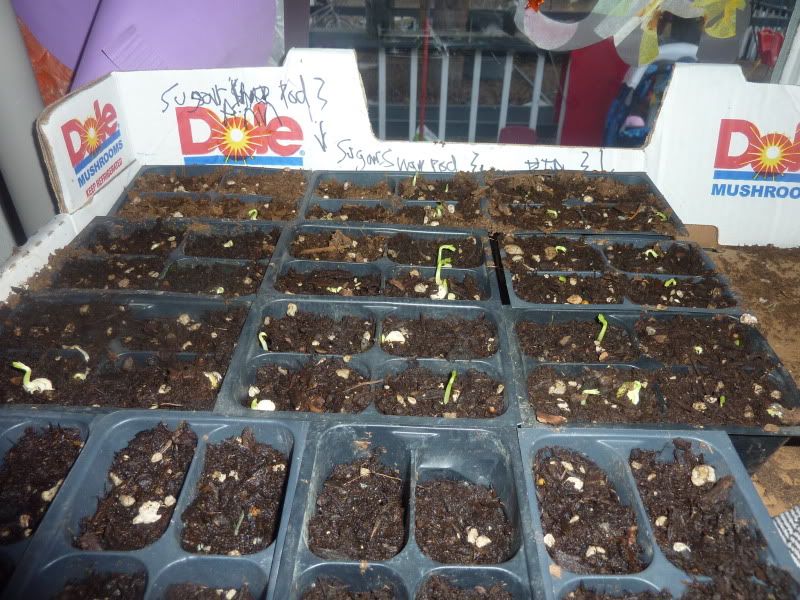
4/26 Plants have germinated
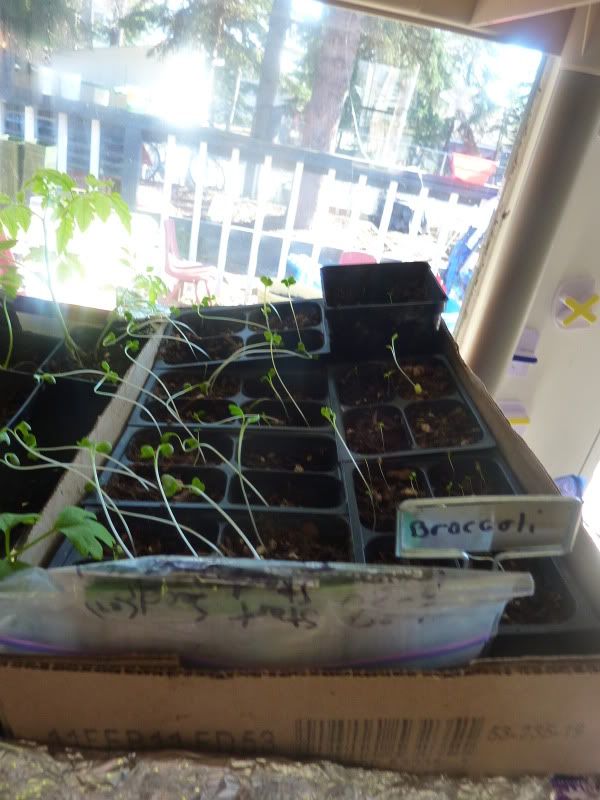
Cauliflower and brocoli
Sugar snap peas
Tomatoes

Beans
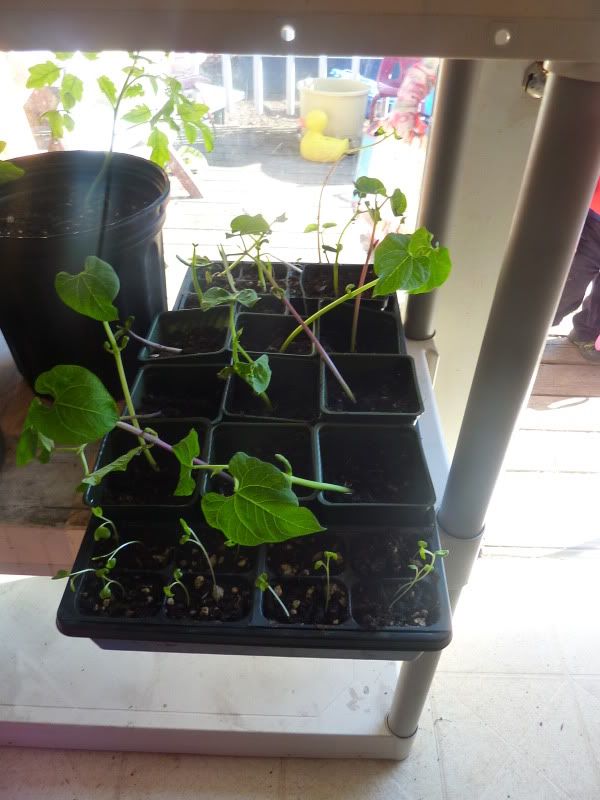
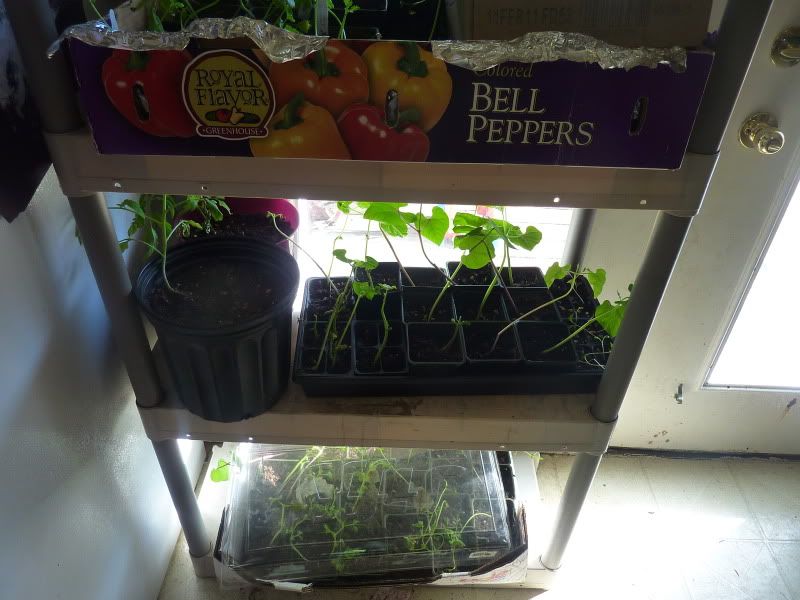
5/5 more growth and more transplanting
Peas and beans
Beans on top tomatoes and broccoli on the bottom 
Peas and beans transplanted
Transplanted beans inside
Broccoli


5/12 More growth
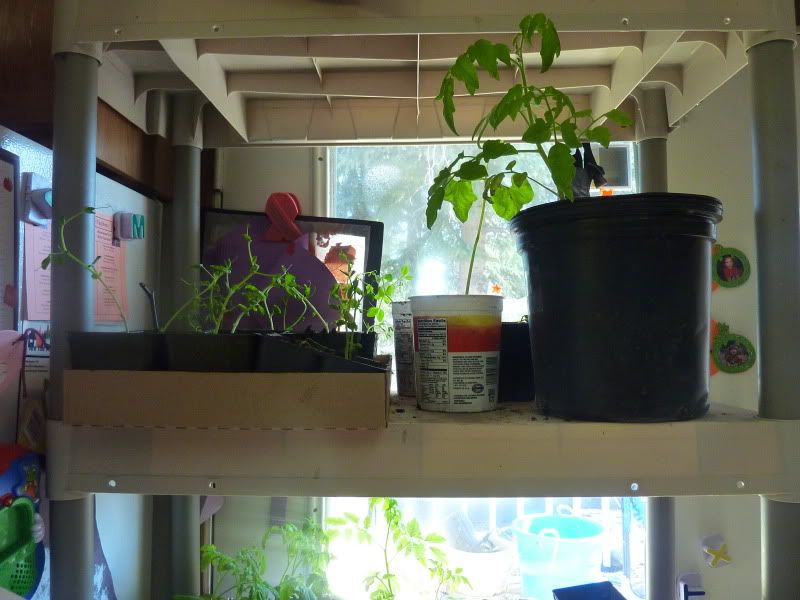
Peas, beans and tomatoes
Tomatoes on top left beans on top and bottom

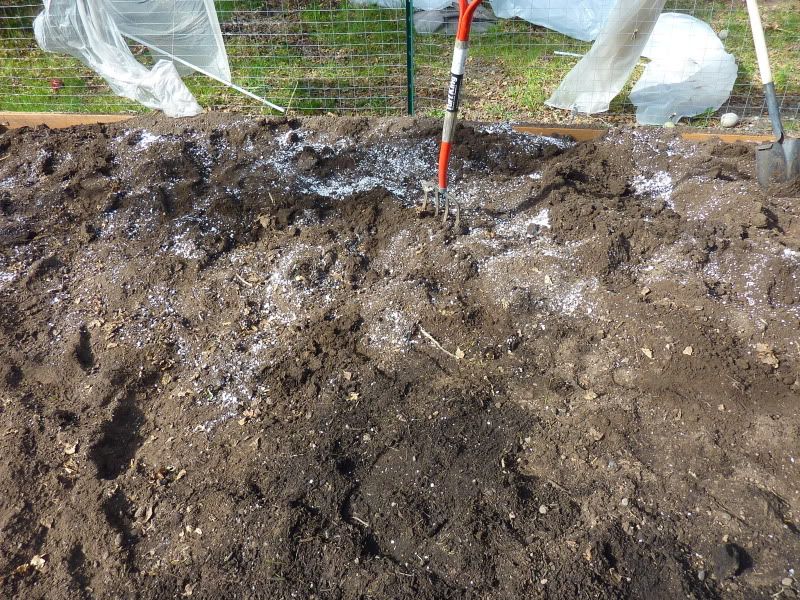
5/22 Adding perlite to make the soil more fluffy


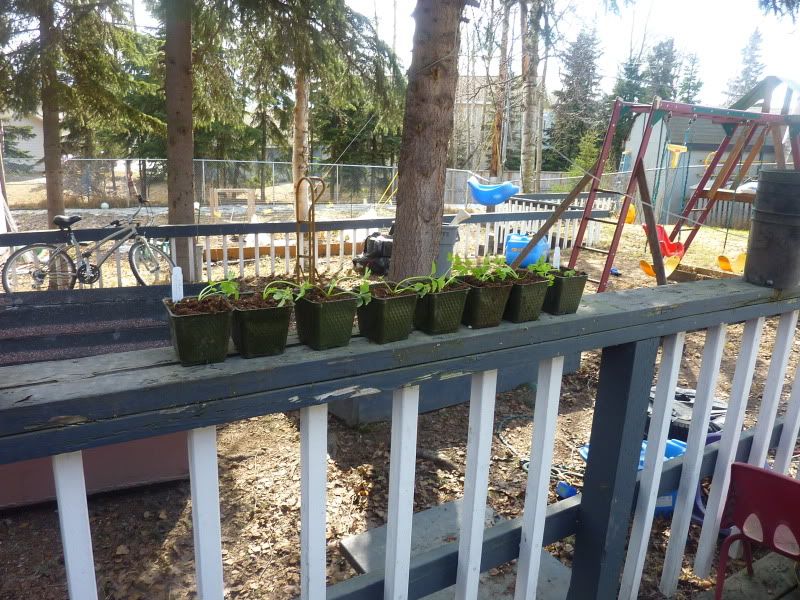
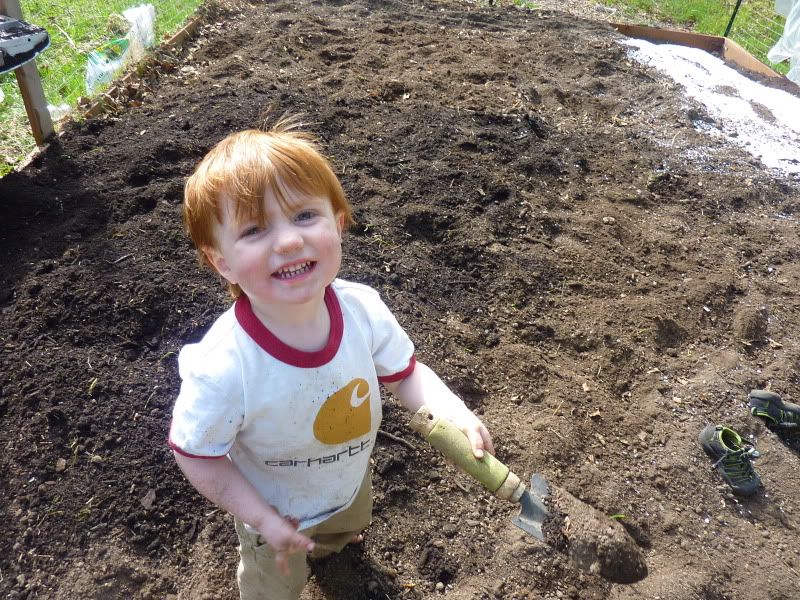
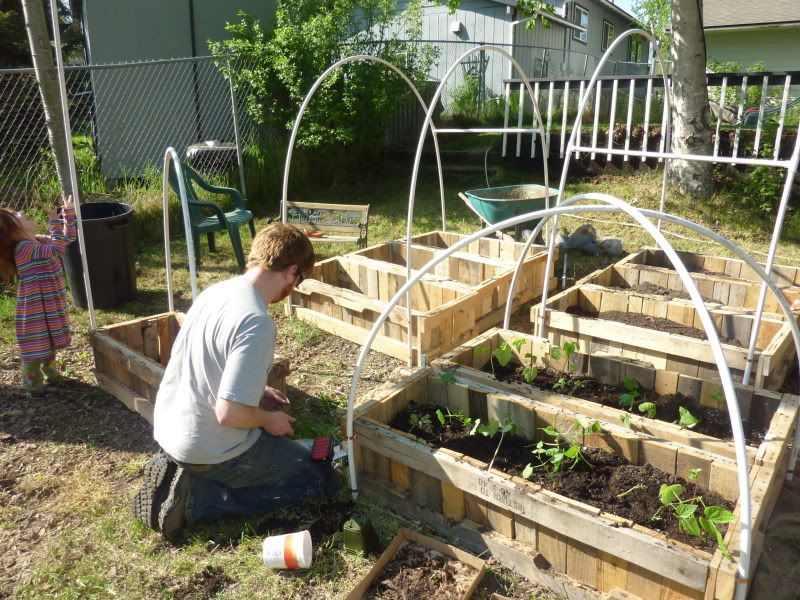
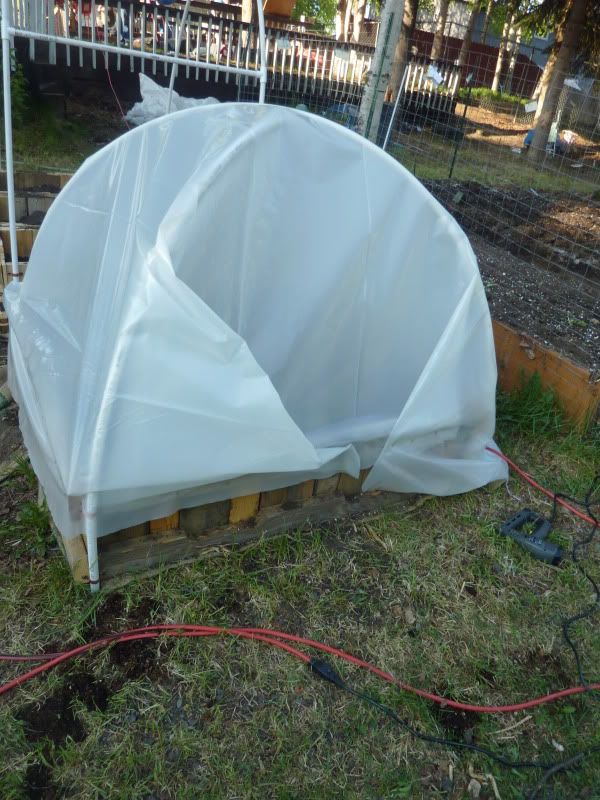
This weekend we got more work done in the garden. Our zucchini, peas and beans have been hardened off and were ready to be planted. The broccoli and cauliflower we planted didn’t grow well so more has been started.  Mike built us more garden beds from pallets so we have 9 pallet boxes now.  We have three for beans and six for tomatoes. He made cold frames or hothouses out of them with pvc pipes. We covered the  pole beans with plastic but we are still hardening off the tomatoes. If you start seeds indoors you can’t put them directly out in the garden from inside because the sunlight is blocked from the windows. If you put them out in the sun right away they won’t make it so you need about a week to get them ready by putting them out more and more. Sometimes we leave them in the shade to get them ready.  

We got some free dirt/compost mix from craigslist that we put in the big garden bed and some of the pallet boxes.  We planted garlic, onions and shallots in the front yard. We buy those already started. In the big garden bed we transplanted the zucchini and peas and planted some seeds too in case the transplants don’t do well. We also sowed carrots, spinach, radishes and a lettuce mix directly in the garden.  The beans went in the cold frame. We are trying fava beans this year but they got a later start and will be in a pallet box cold frame by themselves.

Adding fertilizer
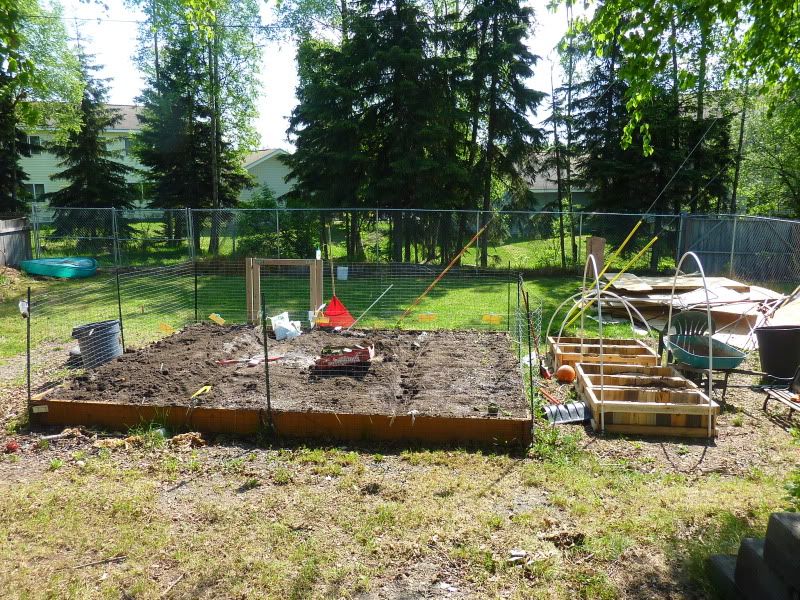
The big garden bed to the left the start of the cold frames to the right
Mike working on a coldframe

Garlic in front yrd to the right of the sticks shallots to the left
Shallots in front yard
Onions in front yard

Beans are in plastic and ready to go
All the cold frames
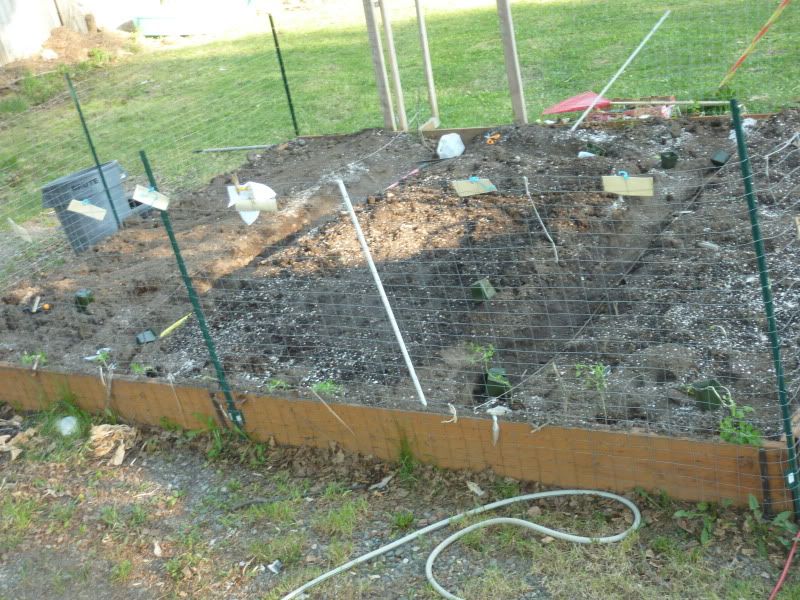
The big garden bed the peas are in the back and front towards the fence. Zuchini is to the right. The area in the center was planted with carrot seeds. The edges of the middle section is spinach seeds to the left and a lettuce mix to the right. Radish seeds were planted along the edge of the zuchini section and to the edge of the section the the left. Brocoli and cauliflower will be planted to the left when it germinates